Functional Assembly
Example Actuator Integration: Turn electrical input into clean pneumatic motion, without hoses and compressors
Aero material heats within milliseconds, pushing air out of its pores and generating pressure directly inside the assembly. The result: compact, precise actuation with minimal infrastructure.
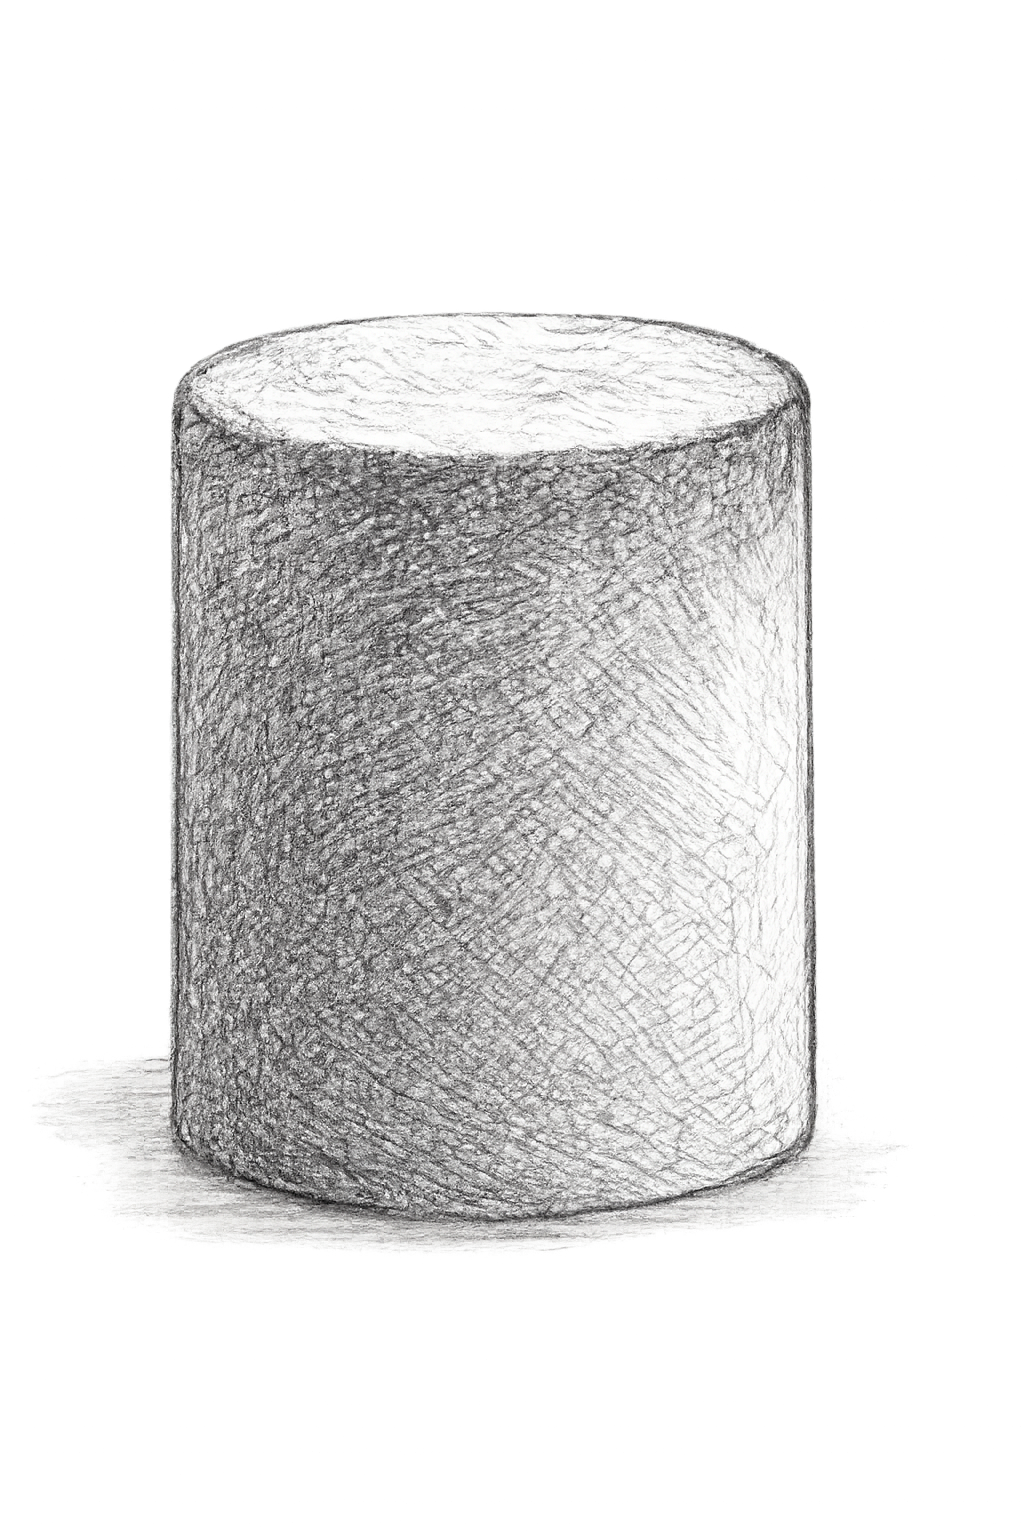
Step 1
Shape the active material for the job
Aero material is shaped into the required geometry for the target force and footprint. This ensures mechanical integrity, uniform heating, and consistent performance for downstream assembly.
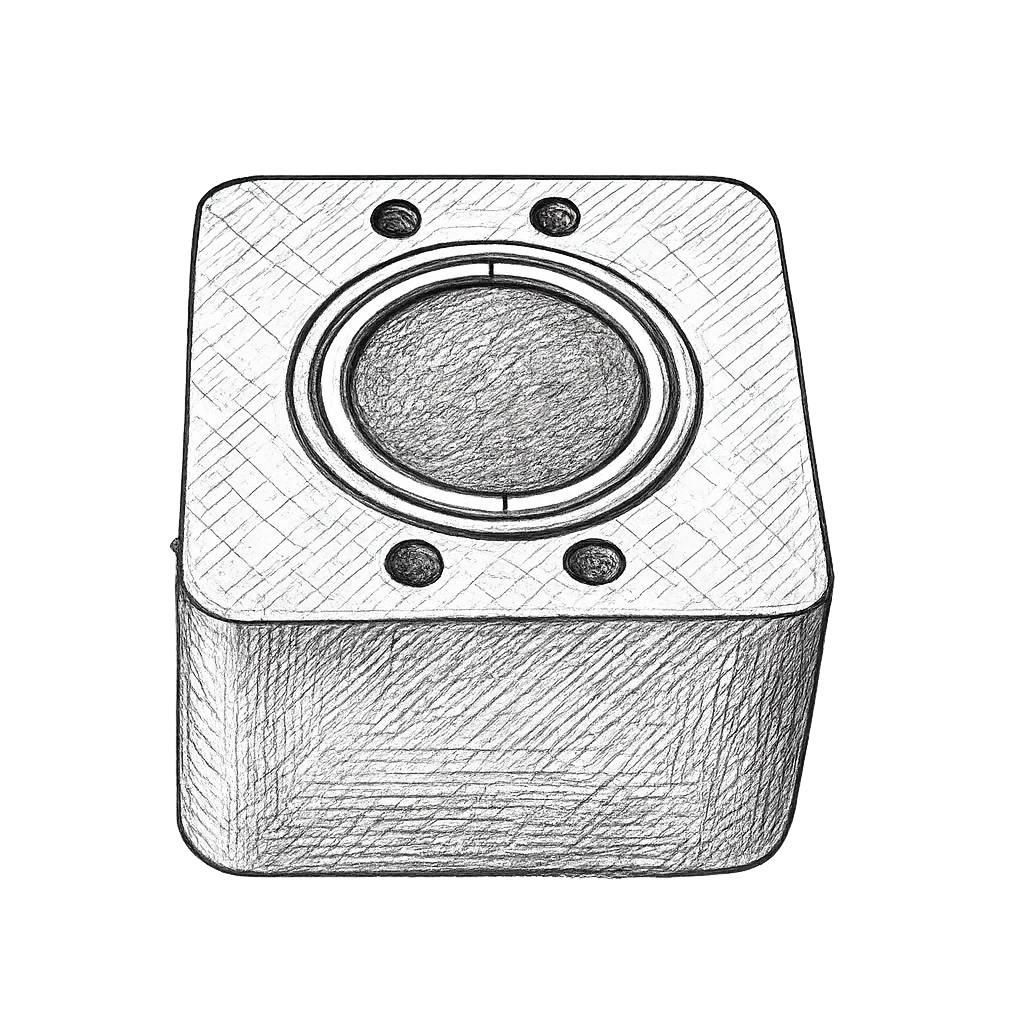
Step 2
Encapsulate and connect
The formed part is integrated into a robust housing. Electrical terminals and thermal interfaces are added, creating reliable contacts and a stable path for heat flow—key for repeatable cycles and long service life.

Step 3
Complete the actuator and connect it
The assembly is finished with a standard piston/cylinder interface and wired to a driver. The unit is now ready for bench testing and functional deployment.
Actuator in action
This video shows our single‑acting prototype. A brief electrical pulse heats the aero material; trapped air expands; the piston extends. On power removal, the piston returns via the air cooling or spring load, no external compressor, hoses, or valves.
Fast thermal response enables short, repeatable cycles
Direct electro‑pneumatic conversion simplifies the system stack
As presented at Hannover Messe in April 2025: Tandem setup illustrating two synchronized units for higher force or mirrored motion.